SUPPORT
Как сконфигурировать режим Клиента беспроводного маршрутизатора netis?
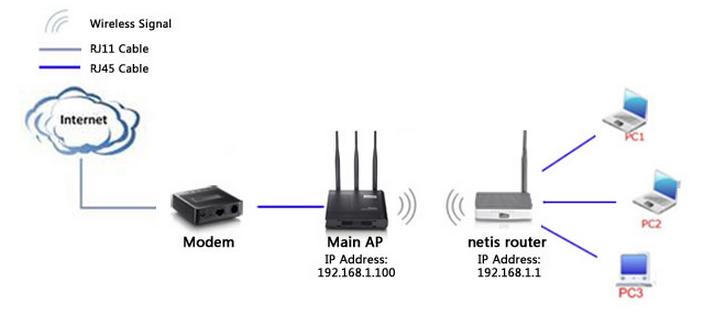
The Physical connection is as below:
1. Open browser and Login in the web management page of netis router, default IP is 192.168.1.1.

Note: The address 192.168.1.1 is NOT on the Internet. The web-based configuration page is built into the router.
2. Click Advanced button and enter in the main page of router.
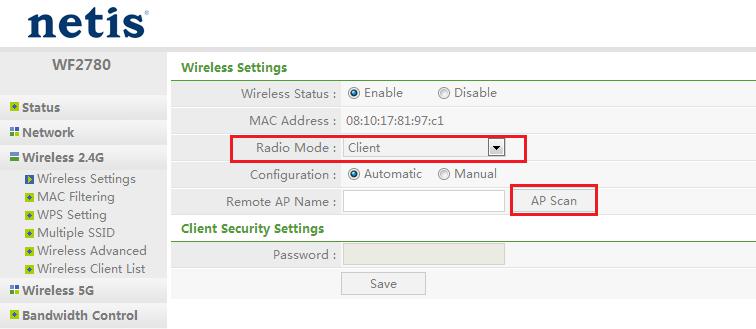
3. Go to Wireless->Wireless Settings on the left side of the main page, Select the Radio Mode as Client, and click AP Scan button.
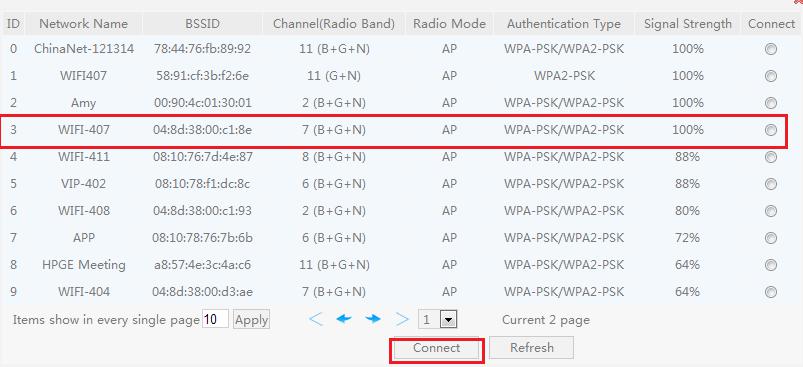
Select the main AP’s SSID, and click Connect button.
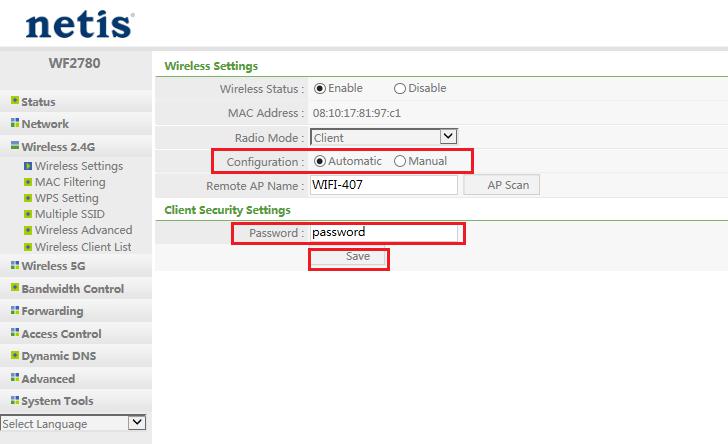
4. If your main AP is secured with a wireless password, input the same password and click Save button.
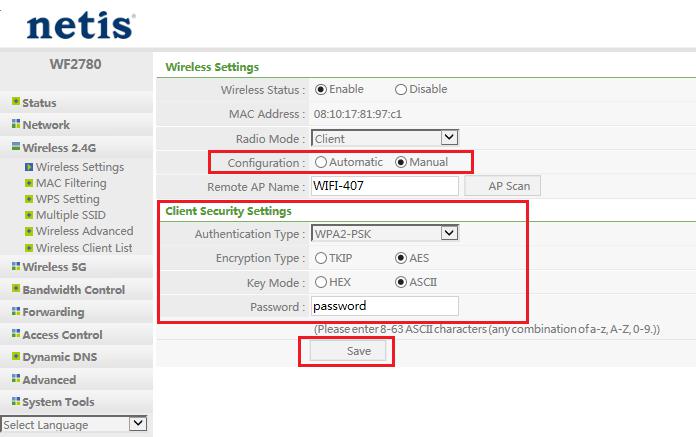
netis wireless routers can match Client encryption automatically, so you can choose Configuration to Automatic, enter the password and wait the router connect to your main router’s wireless. Also you can choose Configuration to Manual and config manually,make sure the Authentication Type, Encryption Type, Key Mode and input the password and make sure they are the same with main AP’s.
All settings required by Client function is completed. You can make a simple check by the ping utility. If the ping proceeds successfully (which means the Client performs properly), you will see the similar screen as below: (in this example, the main AP’s IP is 192.168.1.100, sub AP’s IP is 192.168.1.1).
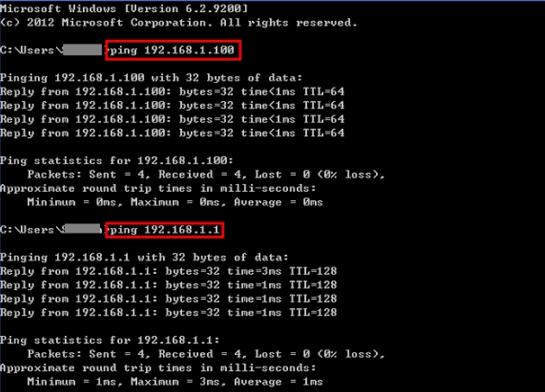
Note: When the Radio Mode is Client, sub AP does not has wireless network.
© Netis Systems Co., Ltd. Все права защищены


 Global (English)